Every home has air leaks that make it less comfortable. Learn how to find them (and what to do to get rid of them).
If you suspect you have air leaks, you’re probably right. Most homes in the U.S. do, and according to ENERGY STAR, air leakage is responsible for up to 40% of the energy loss in American homes (1).
Yikes. That’s a lot of home energy waste.
But leak detection—and repair—can go a long way toward saving energy and making your home more comfortable. (Depending on where you live, you can seal air leaks for $0 upfront if your house qualifies. Find out how.)
Table of Contents:
- The definition of air leaks
- How to find air leaks in your house
- How to use an air leak detector
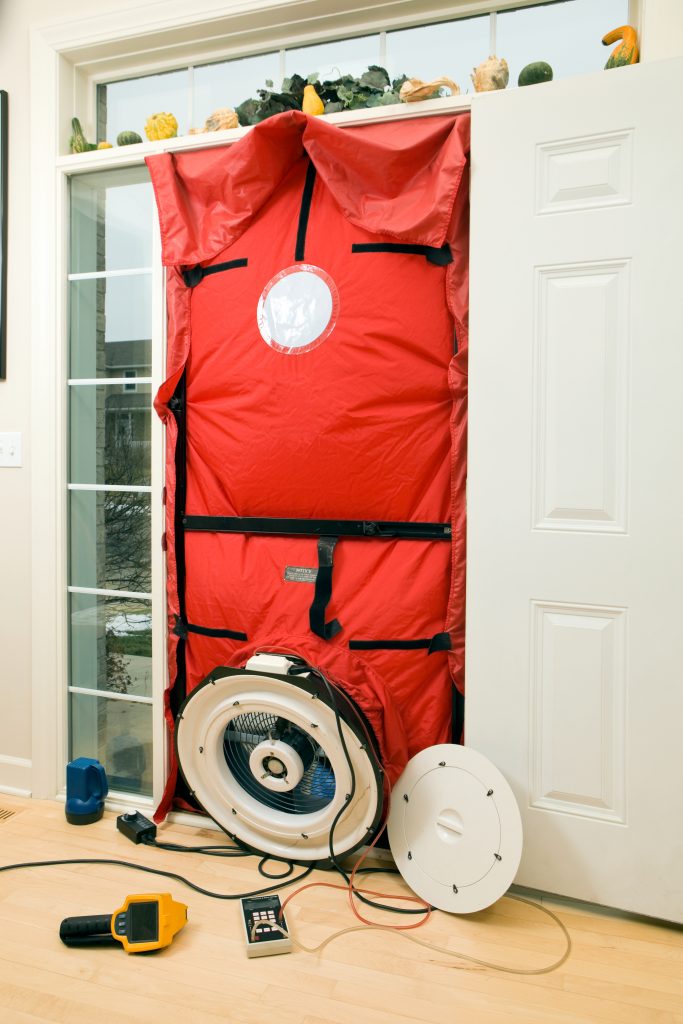
- What a “blower door test” is (and why it’s important)
- The ultimate fix for air leaks in your house
- How to get the permanent fix for air leaks at no—or very little—upfront cost
- FAQs about air leaks and air sealing
Ready? Let’s get started.
What exactly are “air leaks”?
Air leaks are gaps or openings in your home where air can escape (or seep in). Air leaks are extremely common because it’s natural for homes to settle, shift, and develop gaps as years go by.
(Or sometimes your home wasn’t air sealed properly or built with sufficient insulation in the first place, so it’s been leaking air since day one!)

What’s so bad about home air leaks, anyway?
They’re an energy-efficiency nightmare.
Home air leaks overwork your HVAC system. If you don’t find and fix air leaks in your home, your air conditioning and heating units will struggle to maintain the temperature you want, which shortens their lifespan, raises your utility bills, and makes your house stuffy in summer and drafty in winter.
Quick Fact: Leaky ductwork (due to holes or improper installation) is responsible for up to 30% air loss (2).
But don’t worry. There’s a fix—and it’s called air sealing. But first, we have to find the air leaks!
Everything went very smoothly, and my house feels cozy… no more cold and drafty spots. I strongly recommend using [Sealed].
Jess L., Sealed customer
How to check for air leaks—easy air leak tests you can perform right now
Checking for air leaks sounds intimidating, but it really isn’t. We’ll walk you through six practical ways to be your own DIY Draft Detector. (Sorry, this title doesn’t come with a cool badge.)
- Use your eyes
- Use your hands
- Use a dollar bill
- Use toilet paper (um… for the air leak test)
- Use smoke
- Use an air leak detector
Use your eyes
The first step in finding air leaks is to… look for them. Take a walk through your home and look for any cracks or gaps—however small. It’s likely you’ll find air leaks around:
- Doors
- Window frames
- Baseboards
- Electrical outlets
- Plumbing fixtures
- Attic hatches
You can also do a visual inspection around your home’s foundation, in crawl spaces (don’t forget the rim joists down there), and in the attic. Look for obvious cracks, openings, and missing insulation or caulk.
While you’re poking around, look for gaps around lighting fixtures, ductwork, electrical wiring, and bathroom fans.
And as you’re exploring the nooks and crannies of your house, remember that just because you don’t see any gaps doesn’t mean there aren’t any. Sometimes air leaks can be hidden behind walls, ceilings, and floors.
So let’s explore how to find a leak in your house you can’t see.
92% of homeowners delay repairs or upgrades simply because they problem wasn’t visible.
Sealed Wakefield Research US Homeowner Survey 2021
Use your hands
You may not be able to see unwanted airflow, but you can use your hands to feel for it.
Start by closing all exterior doors and windows. Then turn off any fans, humidifiers, and other sources of moving air in your home.
Next, walk through your house and gently hold your hand around the edges of doors and windows, light switches, electrical outlets, and plumbing fixtures.
If you feel a draft or a current of air coming in, hey… you’ve found an air leak. (Congratulations?)
Two quick tips here:
- This trick really works better in the wintertime, because it’s easier to feel cold air coming in than warm air.
- If you dampen your hand, your skin will be more sensitive to incoming air so you may find leaks you might otherwise have missed.
(Need more troubleshooting advice? Read Why is my house so cold?)
Use a dollar bill
Here it is! One of the most useful things you can still buy with $1.
Test each window and door in your house by closing it on a dollar bill, then try to pull your money back out again.
If your window or door is greedy and won’t give back the cash easily, that’s a good sign. It’s probably closing tightly enough to keep outside air out.
But if the bill slips right back out, the window isn’t closing tightly enough and might be letting air in.
(Learn how to fix drafty windows here or watch the quick video below to learn more about how outside air gets inside your home.)
Use toilet paper
Don’t have a dollar bill? Toilet paper is also a great way to check for air leaks.
Again, for this to work, you’ll definitely need to turn off any fans or other sources of moving air in your house.
Then just grab a length of toilet paper and move it—slowly and methodically—around the perimeter of your window and door frames. Watch for it to waver. When it does, you’ve found another air leak.
One of the best things about this test is that it makes it easy to see which leaks are letting in the most air. A light waver means a small leak. A big waver? Well, you’ve clearly got bigger problems.
Another bonus of the tissue paper test? It makes for a hilarious scene for any other household members to walk in on.
My home is now draft-free and I couldn’t be happier.
Laurie S., Sealed customer
Use a stick of incense or a candle
Both candles and incense sticks are extremely sensitive to airflow, making this a highly visual DIY test for air leaks. The steps are simple:
- Pick a windy day that’s cool (preferably cold!).
- Close your windows and doors and turn off any window fans. Don’t forget fireplace flues and any other access points to the outside—including pet doors.
- Turn off any appliances that use combustion fuel (think: gas-burning water heaters and furnaces).
- Turn on all the exhaust fans in your kitchen and bathroom.
- Burn incense or light the candle, then hold the flame or smoke near doors, windows, and any other places where air might be leaking in or out.
- Watch. If the flame wavers or the smoke is blown away from the stick, that’s an indication that there’s unwanted air movement.
(We probably don’t need to tell you this, but if you do use a candle, be extremely careful. We’re not responsible for accidents.)
If you’re uncomfortable with waving a live flame around your windows—or you don’t want your whole house to smell like patchouli incense—a variation on this trick is to use a smoke pen (sometimes also called a smoke pencil) instead of a candle or incense.
Use an air leak detector
If you’re serious about finding the leaks in your home, using an air leak detector is one of the most accurate at-home tests. There are two main types: thermal leak detectors and ultrasonic leak detectors.
Thermal leak detectors work by detecting temperature differences in the air.
Ultrasonic leak detectors work by detecting sound waves that are produced by air leaks.
Both types of air leak detectors are available at most hardware stores, and they typically cost between $20 and $50 (here’s a highly-rated one that costs about $40).
To use an air leak detector, simply turn it on and move it around the perimeter of your home, around doors and windows, etcetera—you know the drill by now.
The air leak detector will beep or make some other obvious sound when it detects an air leak. Pretty straightforward.
Now that we’ve covered the best DIY ways for you to check for air leaks, let’s talk about how the professionals do it.
(Because—let’s face it—you’re eventually going to want a professional to do this.)
From beginning to end, Sealed provided superior, professional customer service.
Cynthia B., Sealed customer

What is a “blower door test”?
The blower door test is performed using a specialized machine that conducts a pressurization test in your home to find air leaks.
The big question here, of course, is why would you get a blower door test if you can save money by testing for air leaks yourself?
DIY air-leak tests are a good starting place, but without a professional, you would never be able to find every single air leak that’s wasting energy in your home.
Ultimately, the blower door test is the best way to get an accurate assessment of your home’s airtightness. It’s worth investing in if you’re ready to fix your house’s problems at the source, make your house comfortable, and save energy (which will also save money long term).
If you’re interested in saving money (and who isn’t?), you can get all of these professional diagnostic tests done—and the problems fixed—for no (or very little) upfront cost if your home qualifies to work with Sealed.
Sealed did a great job with insulating my home. The drafts are gone which makes the house more comfortable and warmer. […] I’m saving money on my heating bill. Sealed did a great job and I highly recommend them.
John B., Sealed customer
The ultimate fix for air leaks? Air sealing.
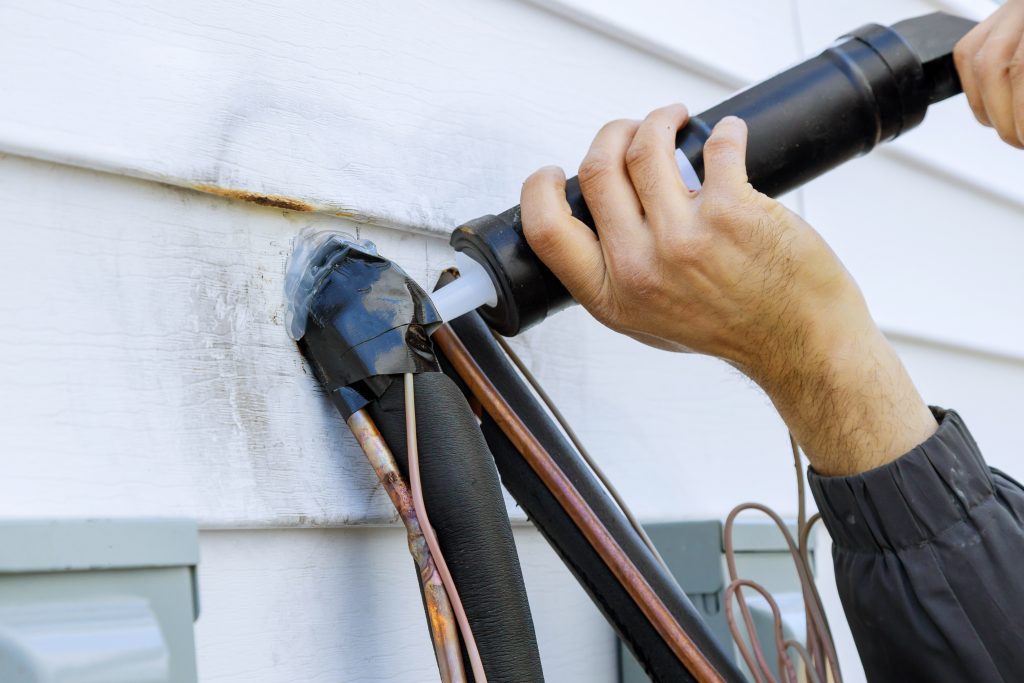
The goal of air sealing is to seal all of the nooks, gaps, and open seams in your house.
That way, the air you pay to heat and condition will actually stay in your house—and you’ll stay comfortable 365 days a year. (Novel concept!)
Air sealing can be done in a number of ways, depending on the type of air leak and where it’s located.

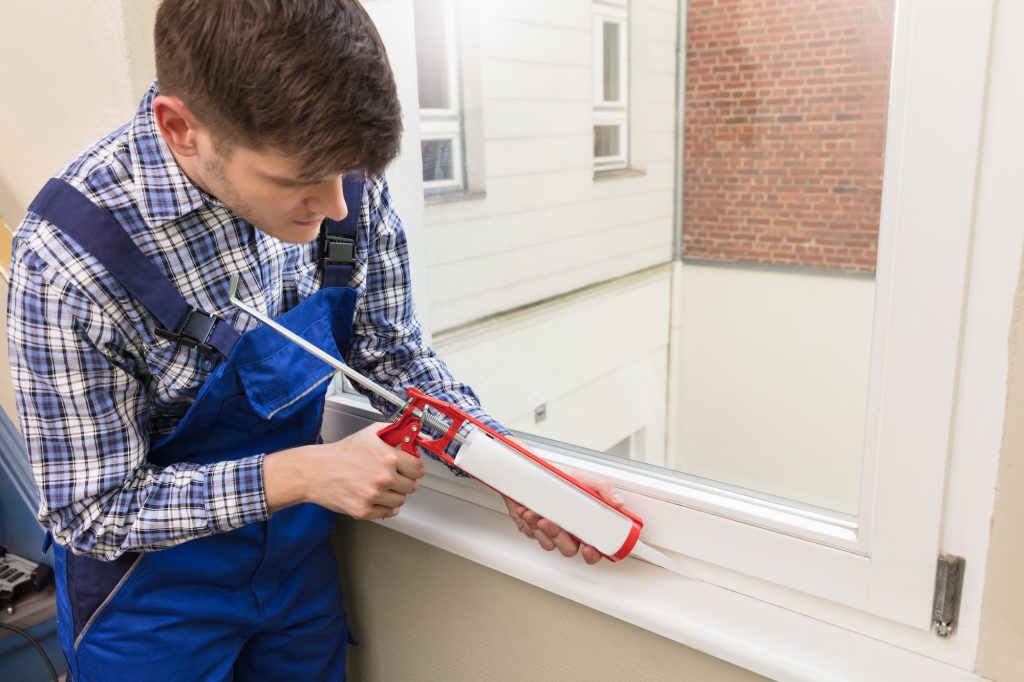
The most common type of air sealant is caulk, which is used to fill small gaps and openings. Other types of sealants include:
- Weatherstripping
- Spray foam
- Gaskets
Experts also install special fire-rated covers for lighting and plumbing fixtures to stop air leaks at the source.
Is air sealing a do-it-yourself job? It could be—but only if you’re a sucker for punishment.
We highly recommend working with a professional.
Sealed’s crew was able to seal my house and reduce my leakage by nearly half…. Highly recommended!
Jeff H., Sealed customer
It may sound like we’re biased, but the fact is that there are literally hundreds of places air can escape in your home, and the professionals know exactly where to look and what type of supplies are needed to seal each kind of leak.
They are also expertly trained in air sealing correctly to allow the appropriate amount of healthy airflow in your home.
A word of caution: Air sealing or insulating the wrong way can cause moisture problems that can lead to structure and indoor air quality issues. It’s crucial to get air sealing right. That way, you’ll reduce your energy waste and drafts for good.)
Ultimately, it takes building science knowhow, a lot of gumption, and determination to go into every dusty, dirty, spidery space to seal all those air-leaking culprits.
You’ll get the best results when you hire an experienced professional. (See if you qualify for expert air sealing with Sealed here.)
Say goodbye to air leaks—permanently
So here’s the deal: If your home qualifies for Sealed, our experts will take charge of the situation. We start with a home energy audit then put together a custom home upgrade plan that will make your house feel amazing.
We oversee the entire project and hire experienced and vetted professionals in your area. We negotiate the cost. We stay accountable to the results and make sure the work is done right.
And you simply get to enjoy your home.
Plus every home upgrade package with Sealed is tailored to your situation, so you’ll get what you need (and nothing you don’t) for very little upfront cost (maybe even zero upfront cost).
When you work with Sealed, you can get everything you need—and nothing you don’t—for $0 (or very little) upfront cost.
How to find air leaks: Frequently asked questions
- What are the basic air-sealing techniques
- What is an “air leak detector”? Where can I find one?
- What is a “thermal leak detector”? Do they work?
- What are signs of air leaks in a house?
- How to check for air leaks around windows
- How to locate drafts in the house

What are the basic air-sealing techniques?
The most commonly used air-sealing technique is caulking, which is used to fill small gaps and openings. Other types of air-sealing techniques include:
- Weatherstripping
- Spray foam
- Gaskets
- Specially-designed and fire rated covers for fixtures
(Learn more about air sealing here.)
What is an “air leak detector”? Where can I find one?
An air leak detector is a small, handheld device that uses sensors to detect air leaks. There are two kinds of air detectors: ultrasonic and thermal. Ultrasonic air leak detectors detect the high-frequency sound that can be heard when air is escaping from a hole or crack. Thermal air leak detectors work by detecting temperature differences between the inside and outside of a home.
What is a “thermal leak detector”? Do they work?
A thermal air leak detector is a handheld device that uses sensors to detect temperature differences. When used correctly, they work well to detect air leaks in your home, but they’re definitely not a substitute for getting a professional blower door test.
What are some signs that I have air leaks in my home?
If you suspect your home has air leaks, look for these indicators:
- Drafts near doors or windows
- Higher than normal energy bills
- Higher home energy use than houses that are newer or larger than yours
- Cracks or gaps in your home’s exterior
- Uneven temperatures between rooms
- Excessive dust
How to check for air leaks around windows
To check for air leaks around windows, shut all the windows and doors then hold a burning incense stick near the window. If the smoke wavers, you have an air leak. You can also hold toilet paper around the window—if it moves, you’ve got unwanted airflow.
(Find a leak? Tap here to learn if putting plastic over windows works (spoiler: it doesn’t) or if thermal curtains are any better at stopping air leaks.)

How to locate drafts in the house
Go into the drafty room, shut all the doors and windows, and move your hand—slowly—around the perimeter of all doors and windows, as well as any other potential access points to outside air. Feel any air coming in? Bingo.
(Tap here for more tricks to find air leaks.)
Keep in mind that DIY tests will only uncover the most obvious leaks—you’ll need a professional to do a blower-door test if you want a full analysis of the issue.
Ready to fix air leaks for good? Discover how you could get air sealing, insulation, and even HVAC upgrades at no upfront cost with Sealed. Answer our quick questionnaire to see if you qualify.